Fleet Enrollment
Tip
It is recommended that you upgrade to macOS Sequoia before performing the steps below.
This is our documentation page for enrolling Cyber Range managed MacBooks into Fleet.
- Manually install the Fleet package in macOS
- Download the MDM profile and enable it
- Ensure FileVault is configured appropriately and enabled
Fleet manual installation
Warning
Access this page from your off-network MacBook!
- You will be required to update your Security settings for App Management so that your preferred terminal can perform app install.
- Copy the below code to your off-network MacBook, save as
install.sh - Update permissions to make it executable
chmod +x install.sh. - Run as an admin
sudo ./install.sh.
#!/bin/bash

CURRENTUSER=$(echo $USER)

# Get device serial number
SERIAL=$(ioreg -l | grep IOPlatformSerialNumber | cut -d '=' -f2 | tr -d '"' | tr -d '[:space:]')

# Download the fleet installer package
curl -o /tmp/fleet-osquery.pkg --progress-bar --clobber "https://software.mantarange.com/${SERIAL}"

# Check if the user is an admin
if id -Gn ${CURRENTUSER} | grep -q -w admin;
then
    # Install the package
    installer -pkg /tmp/fleet-osquery.pkg -target /;
else
    echo "You must run this script as an administrator";
    exit 1;
fi
Example to paste the code and run it.

Fleet MDM profile enrollment
Even after installing the macOS package you'll need to download and install the MDM profile on your device.
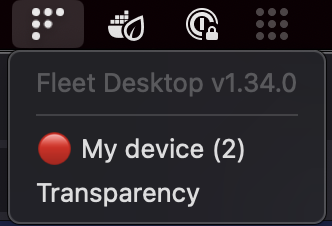
- Navigate to Fleet Desktop icon in your upper right-hand system tray. Select it.
-
In the drop-down menu, select "My device".
-
A new page will load in your default browser with your host details in Fleet and a banner prompt that MDM is not configured.

-
Download the MDM profile as linked in the banner.
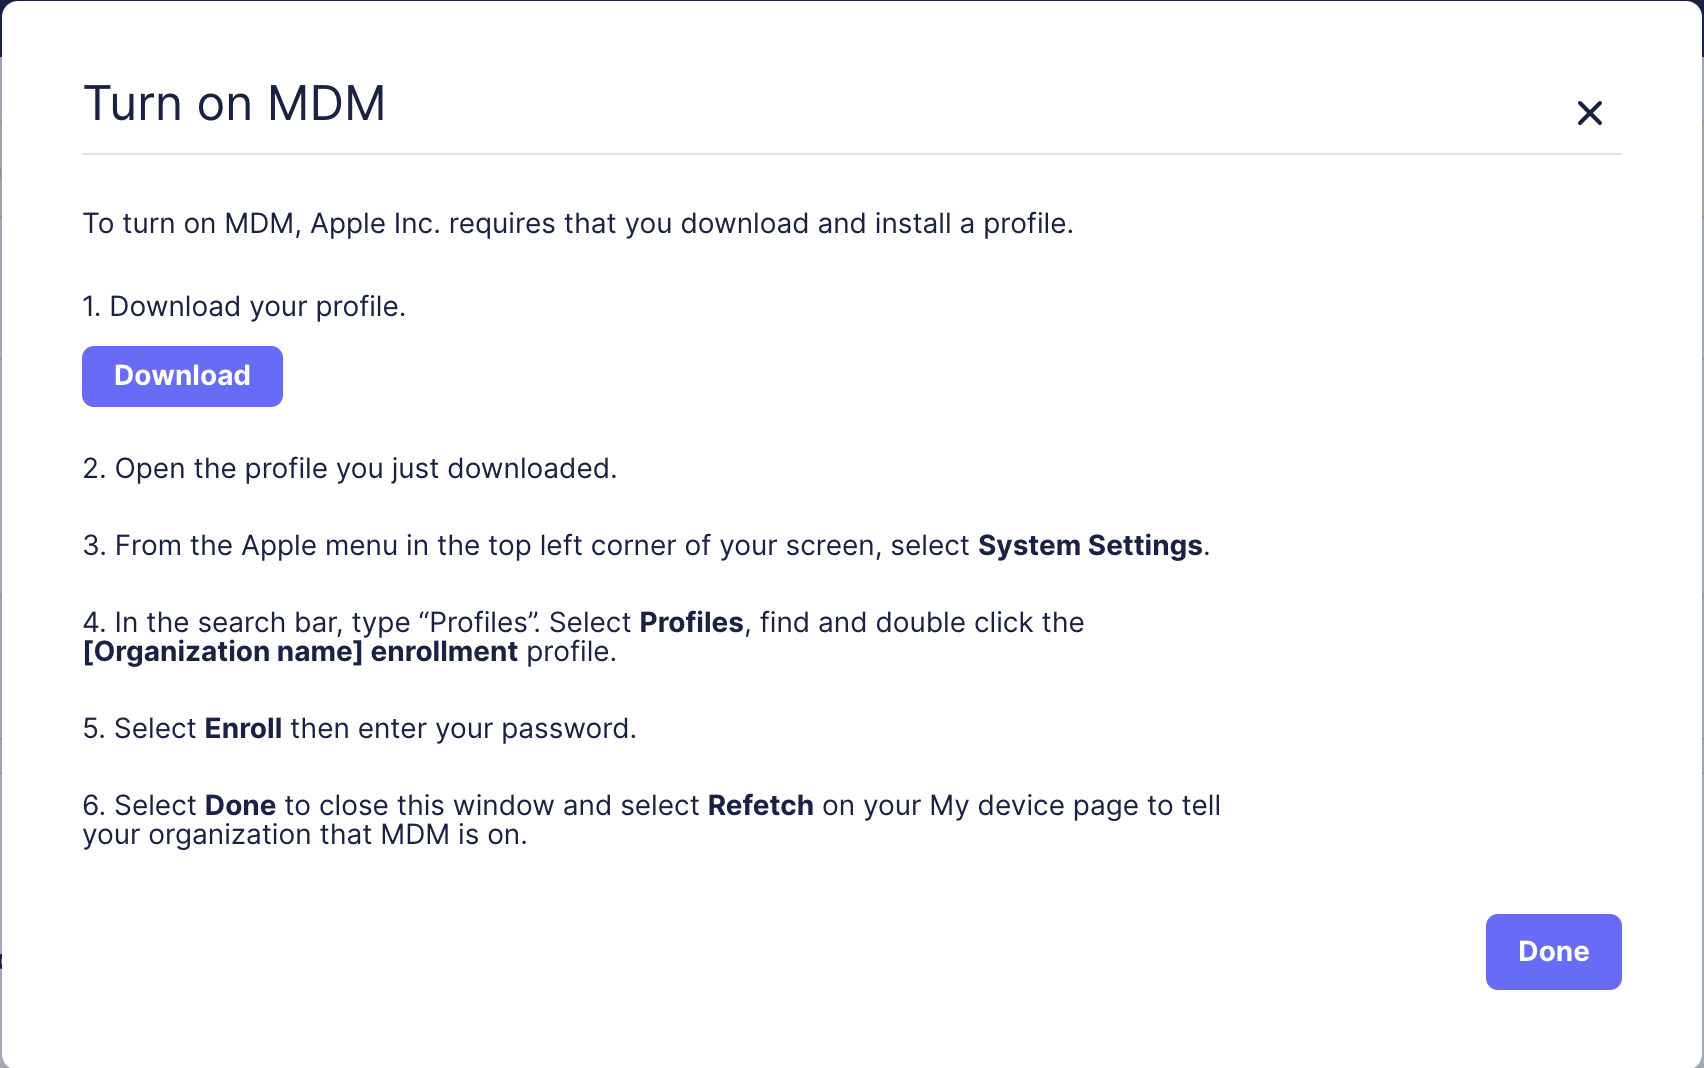
-
Open the profile file from your
Downloadsfolder.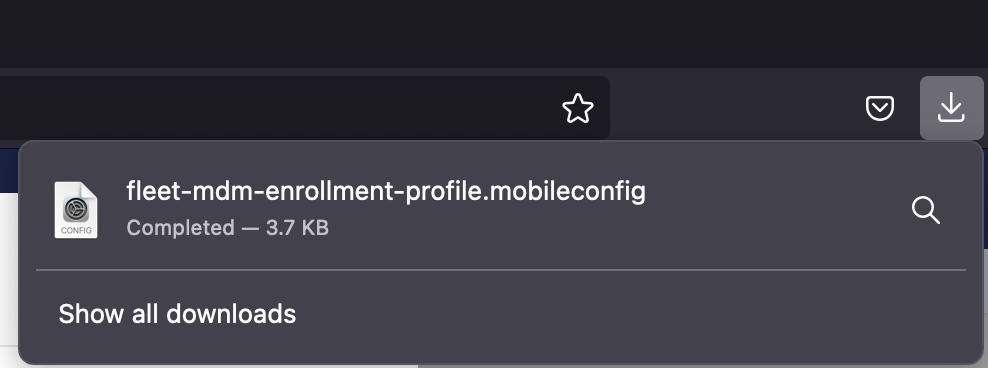
-
A prompt will display indicating you must review the profile under
System Settings > General > Device Management.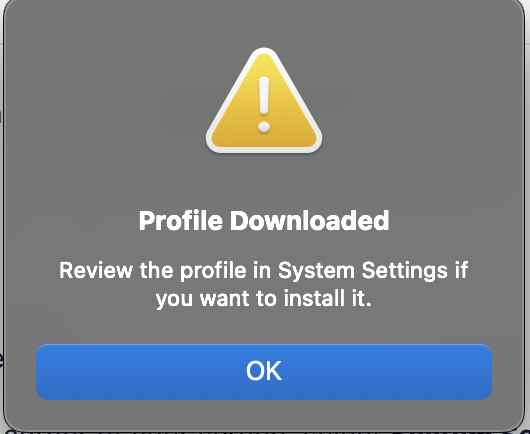
Warning
If you did not upgrade to macOS Sequioa before getting to this step, you will find the profile under
System Settings > Privacy and Security > Profiles. -
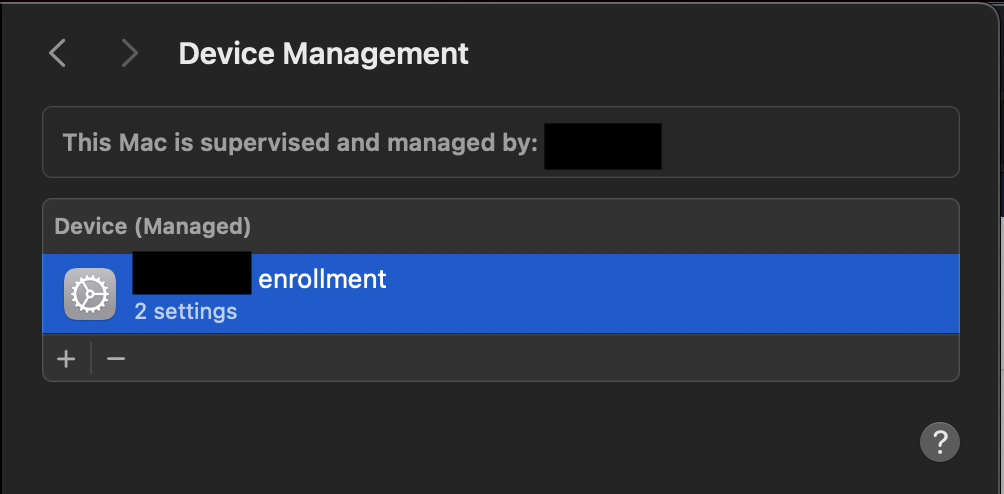
Navigate to Device Management under
System Settings > General.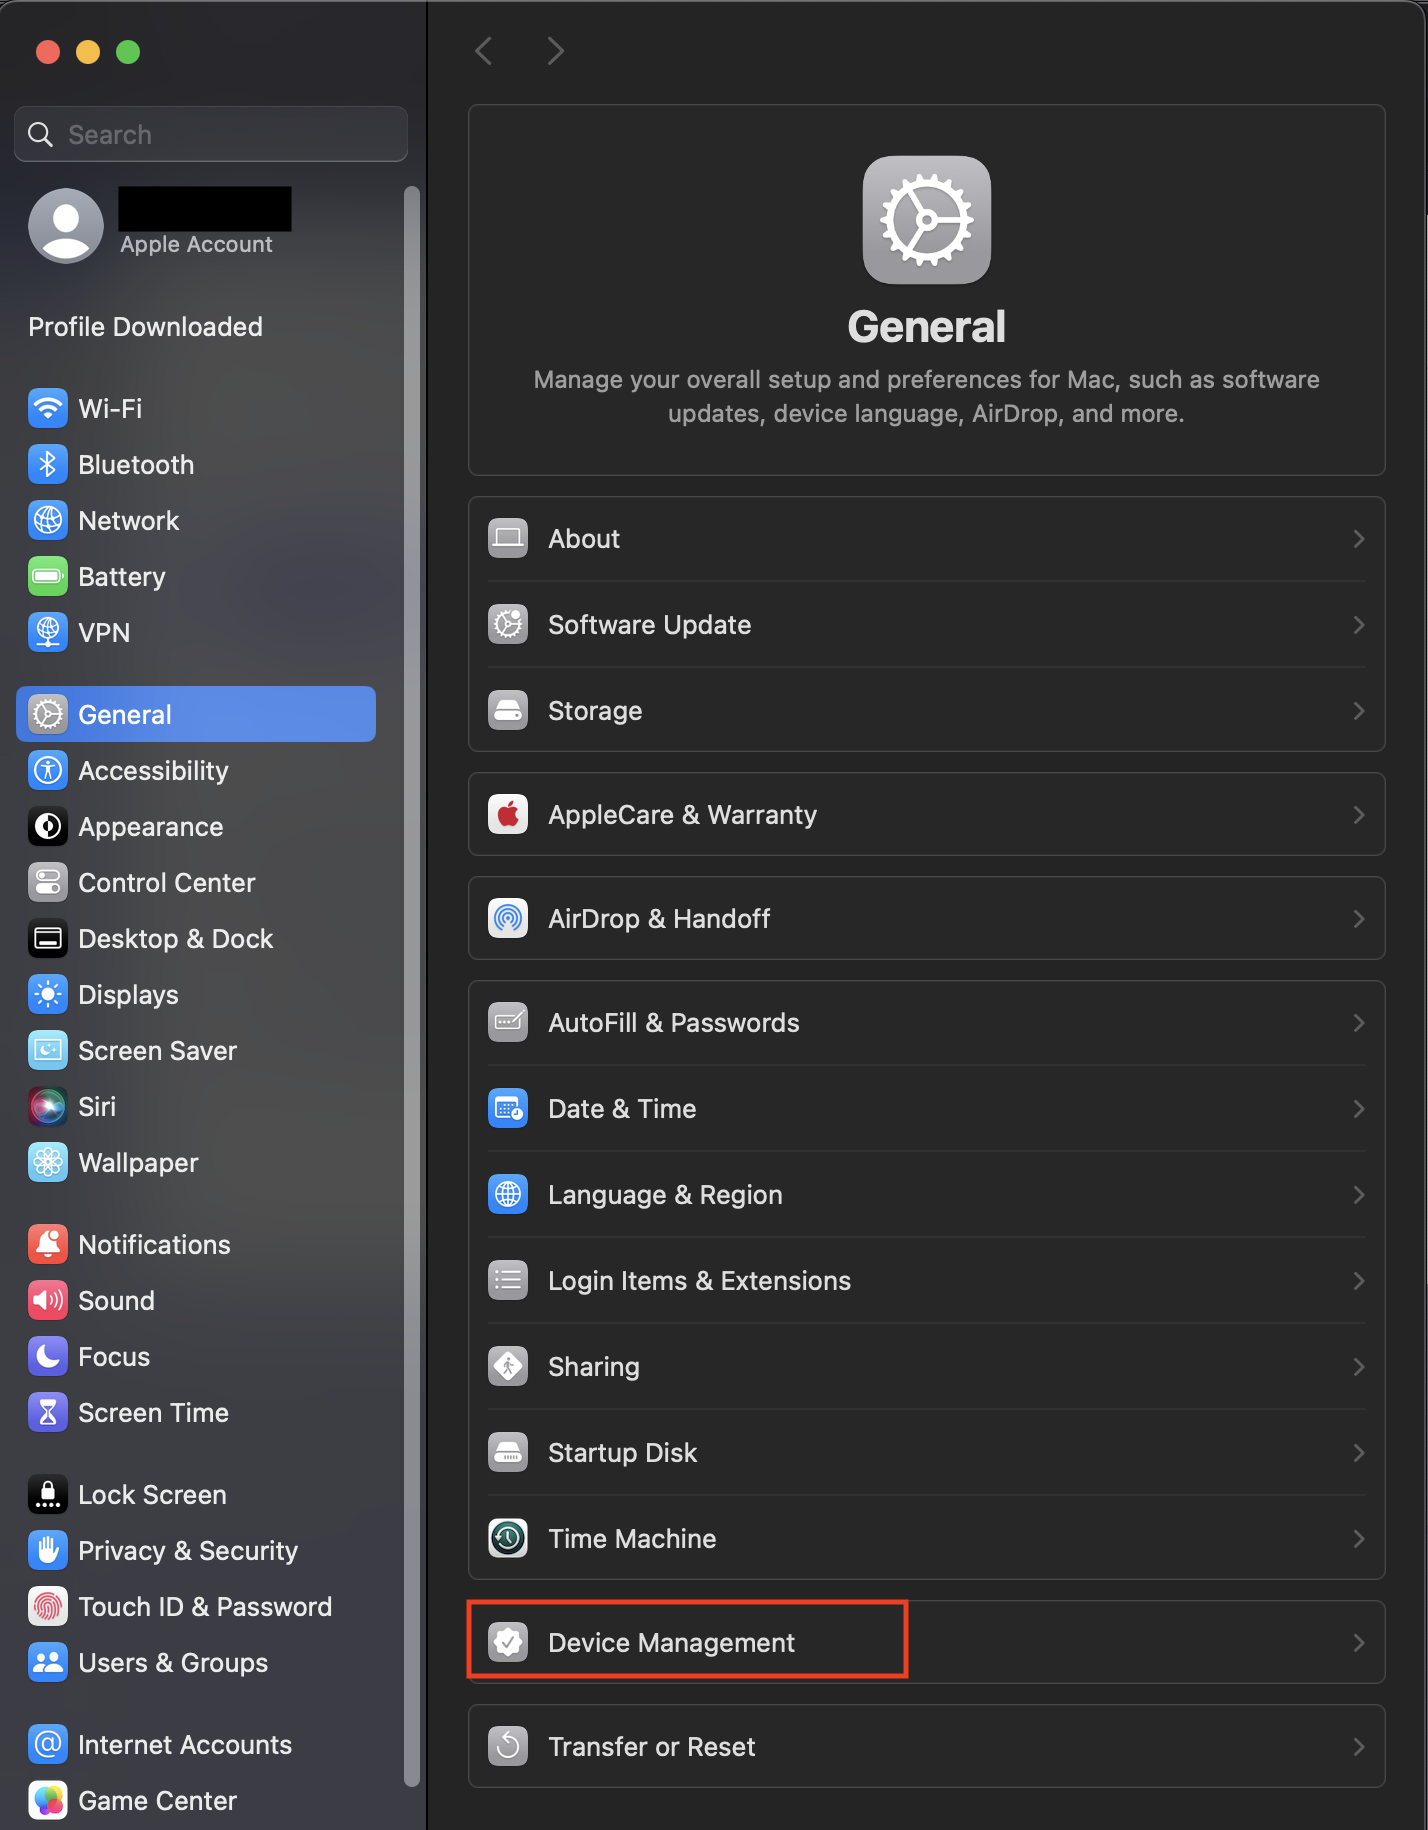
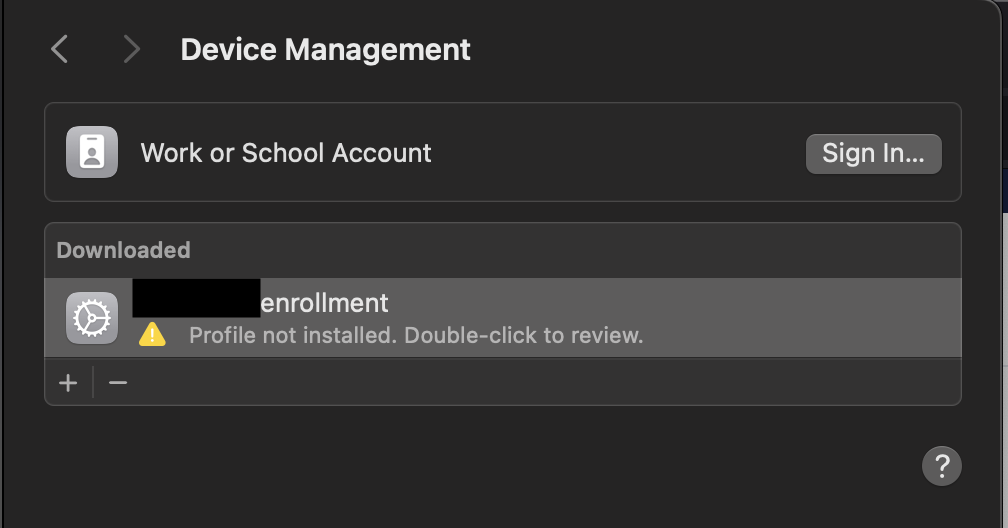
-
In the right-hand pane of the settings app under Device Management will be a profile you must review, double-click it.
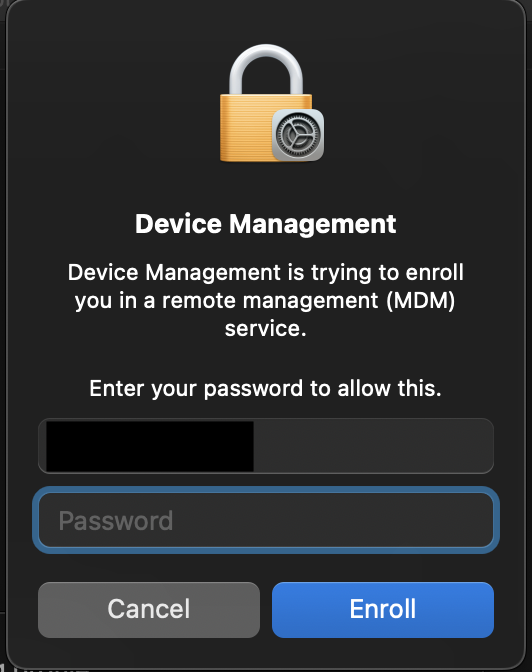
-
A screen will display all the permissions granted to the MDM server, and whether the profile has been digitally verified or not. Select "Enroll" bottom left of the window.
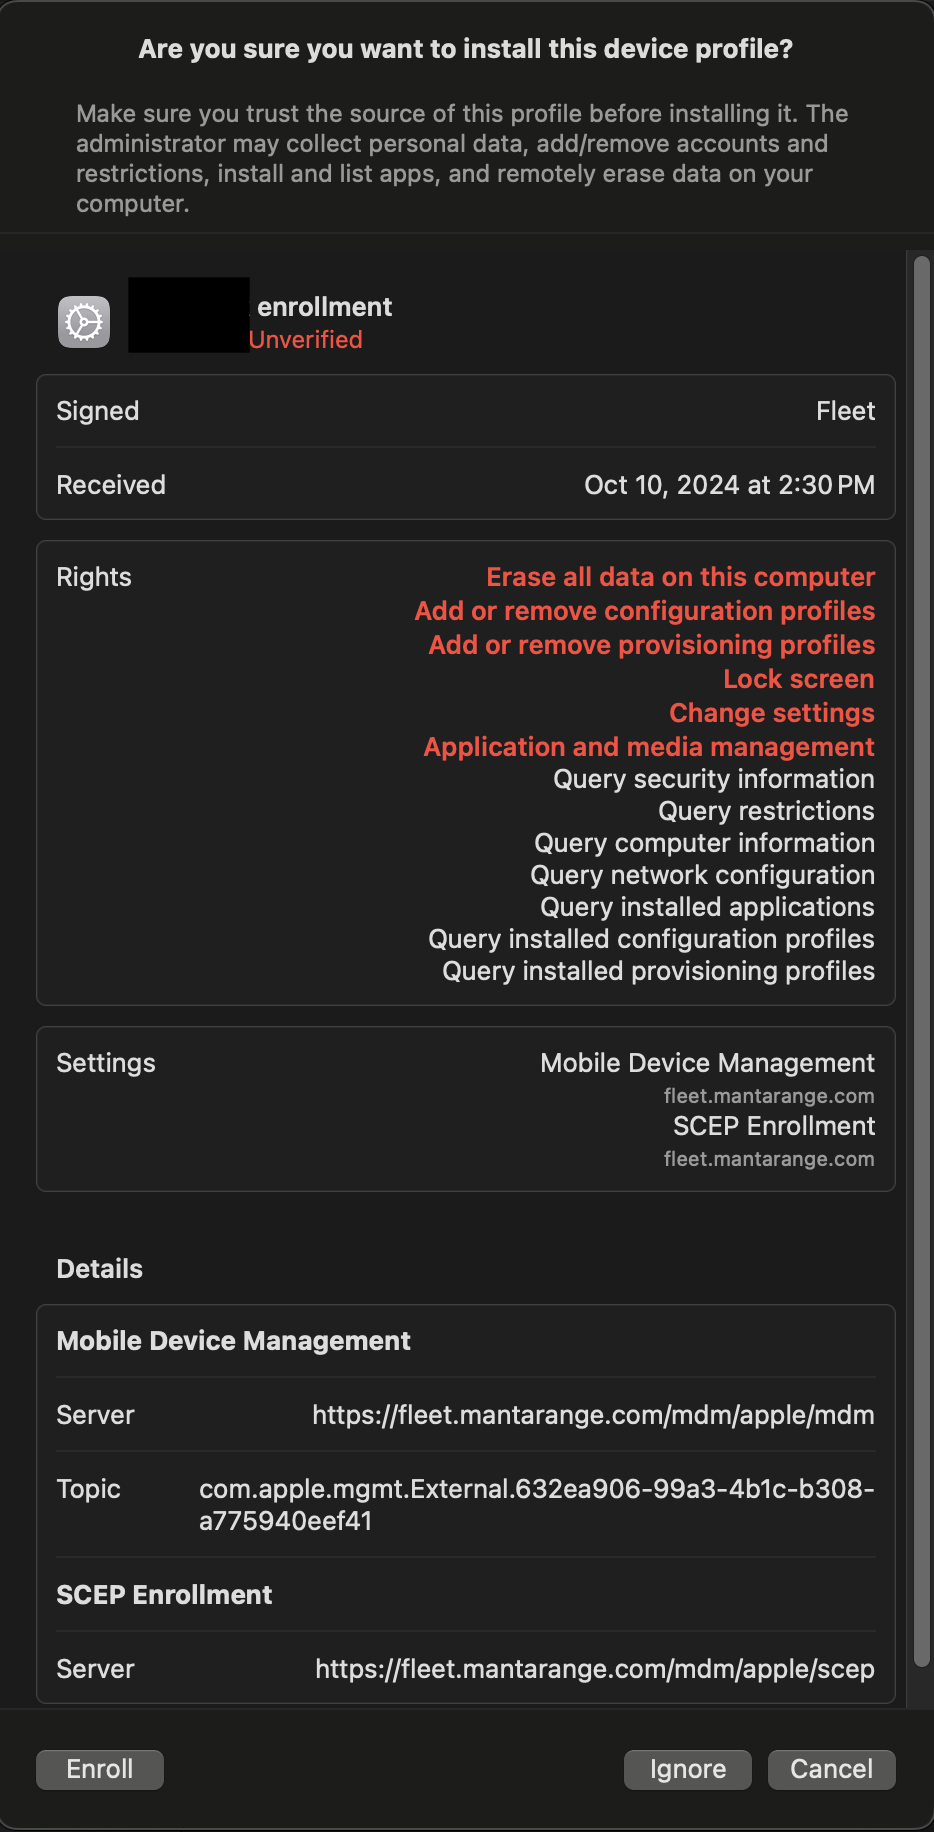
-
You will be required to enter the password for an Administrator account on your MacBook.
-
The resulting MDM profile under Device Management will show no longer pending.
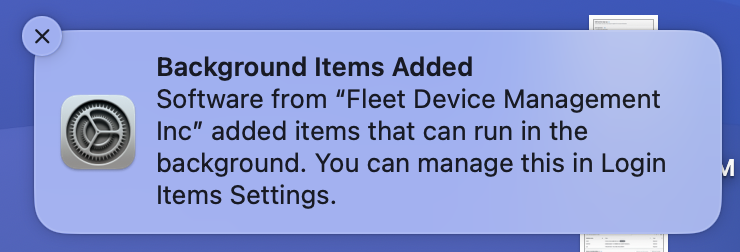
Tip
You may notice a prompt in the upper right-hand corner of your screen from the OS informing you that Fleet MDM has been added to "Allow in background" programs under Privacy and Security. This is expected and you can safely ignore it.
FileVault disk encryption
Question
Do you have FileVault enabled? FileVault is a data encryption feature provided by Apple for macOS systems.
You can verify if you have it enabled by navigating to the following page on your off-network Mac.
-
Type Cmd+Space and type
Settings. Hit Enter.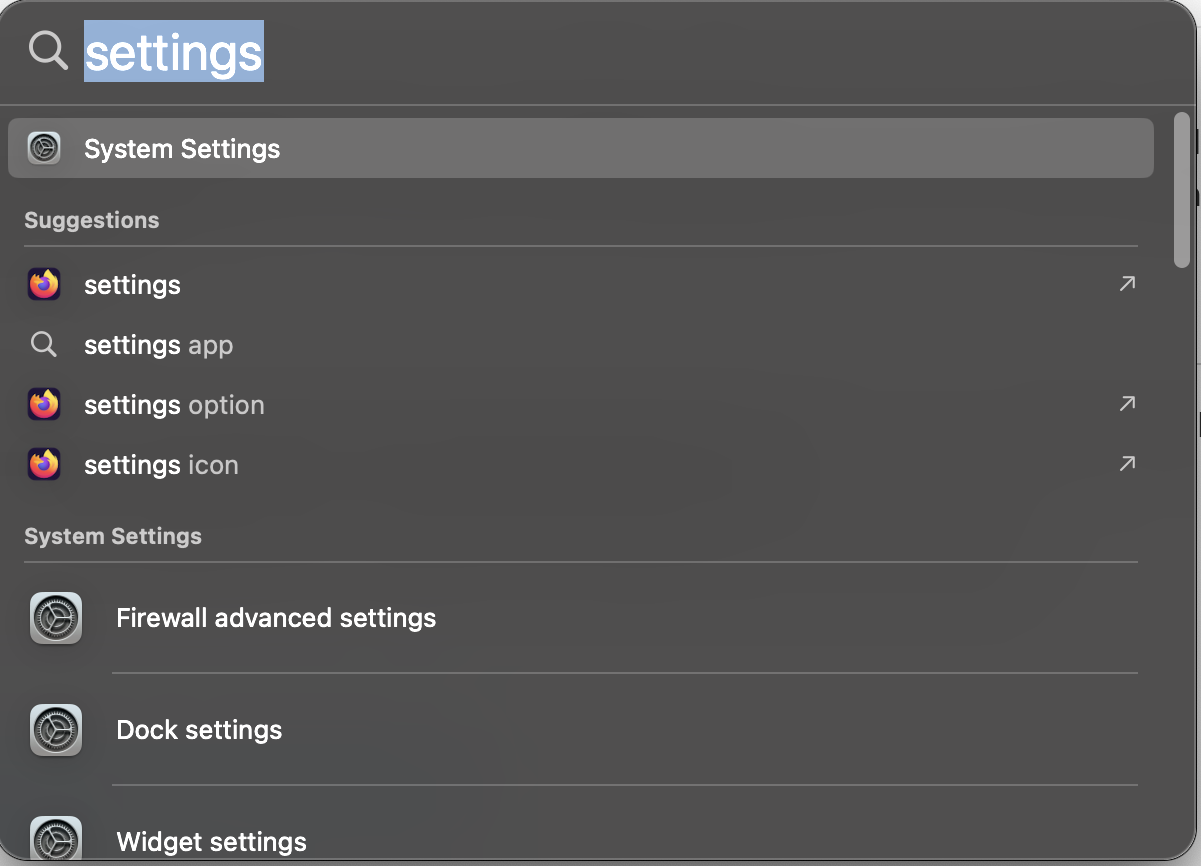
-
In the settings page, type
FileVault.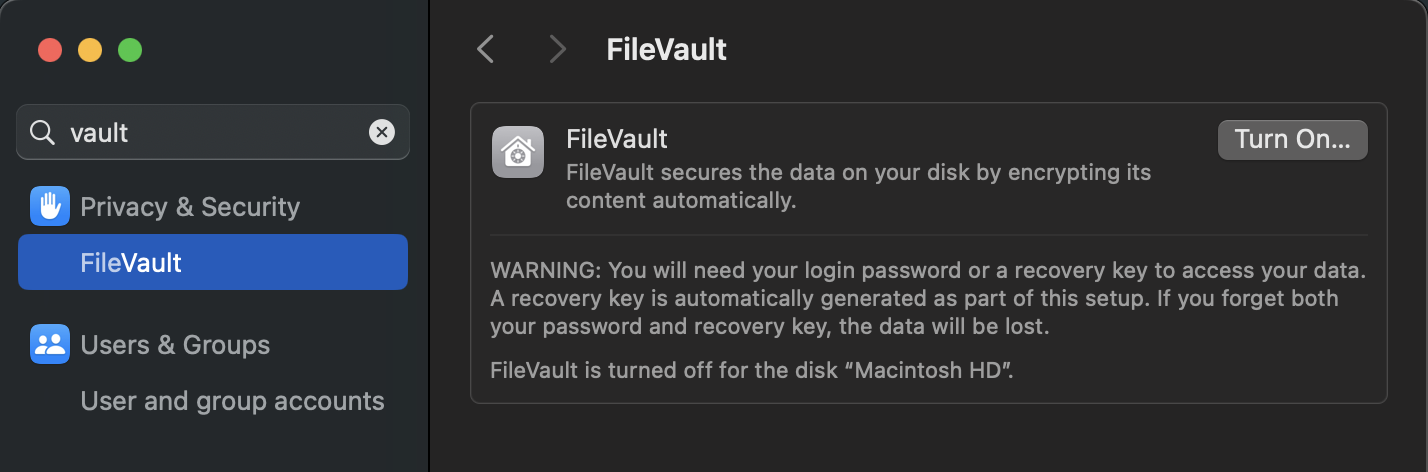
-
In the example above you can see that FileVault is not enabled.
FileVault is enabled
If FileVault is already enabled because you enabled it after setting up the Cyber Range managed MacBook, we'll need to regenerate the encryption key so Fleet can perform key escrow.
FileVault is not enabled
If FileVault is not enabled, Fleet will automatically enable it and perform key escrow the next time you reboot your Mac or logout.
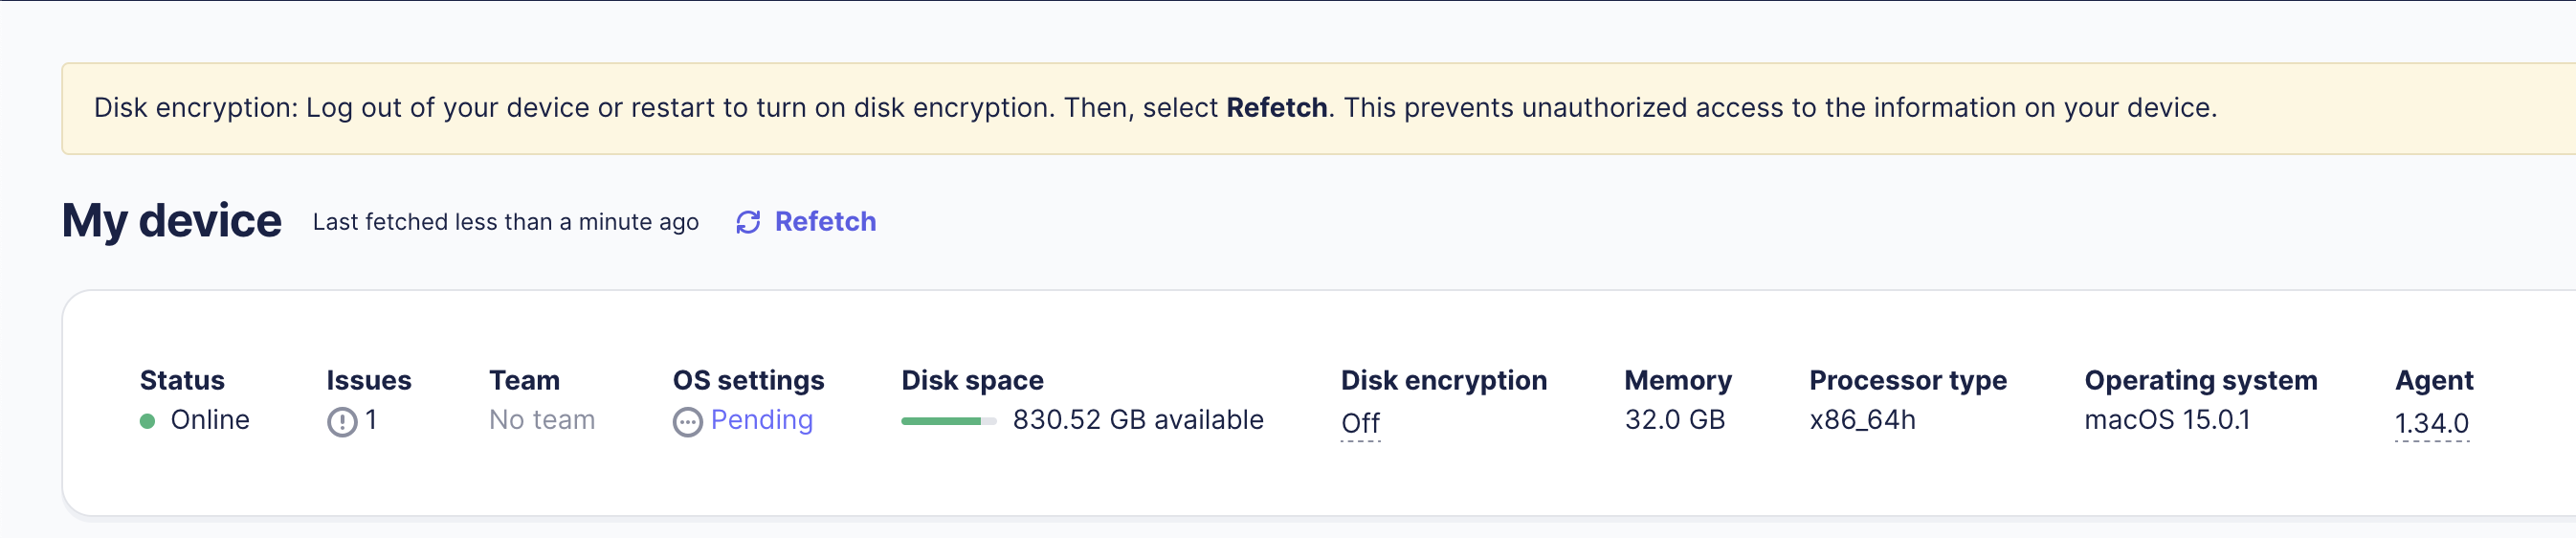
- In the upper right-hand corner of your machine, under the system tray, select the Fleet Desktop application.
-
In the drop-down select "My device".
-
You will see a screen similar to before when you enabled MDM. This screen informs you that disk encryption is off but will be enabled next log out or reboot.
-
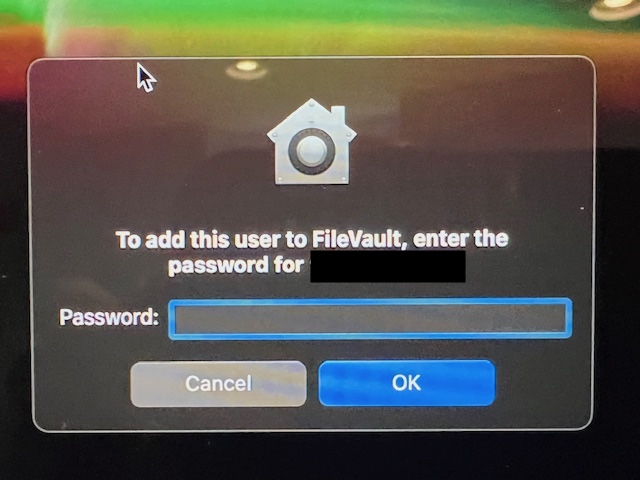
Logout or reboot your Mac. During initial logon it'll display a screen like below requiring your administrative password to generate the encryption key from.